
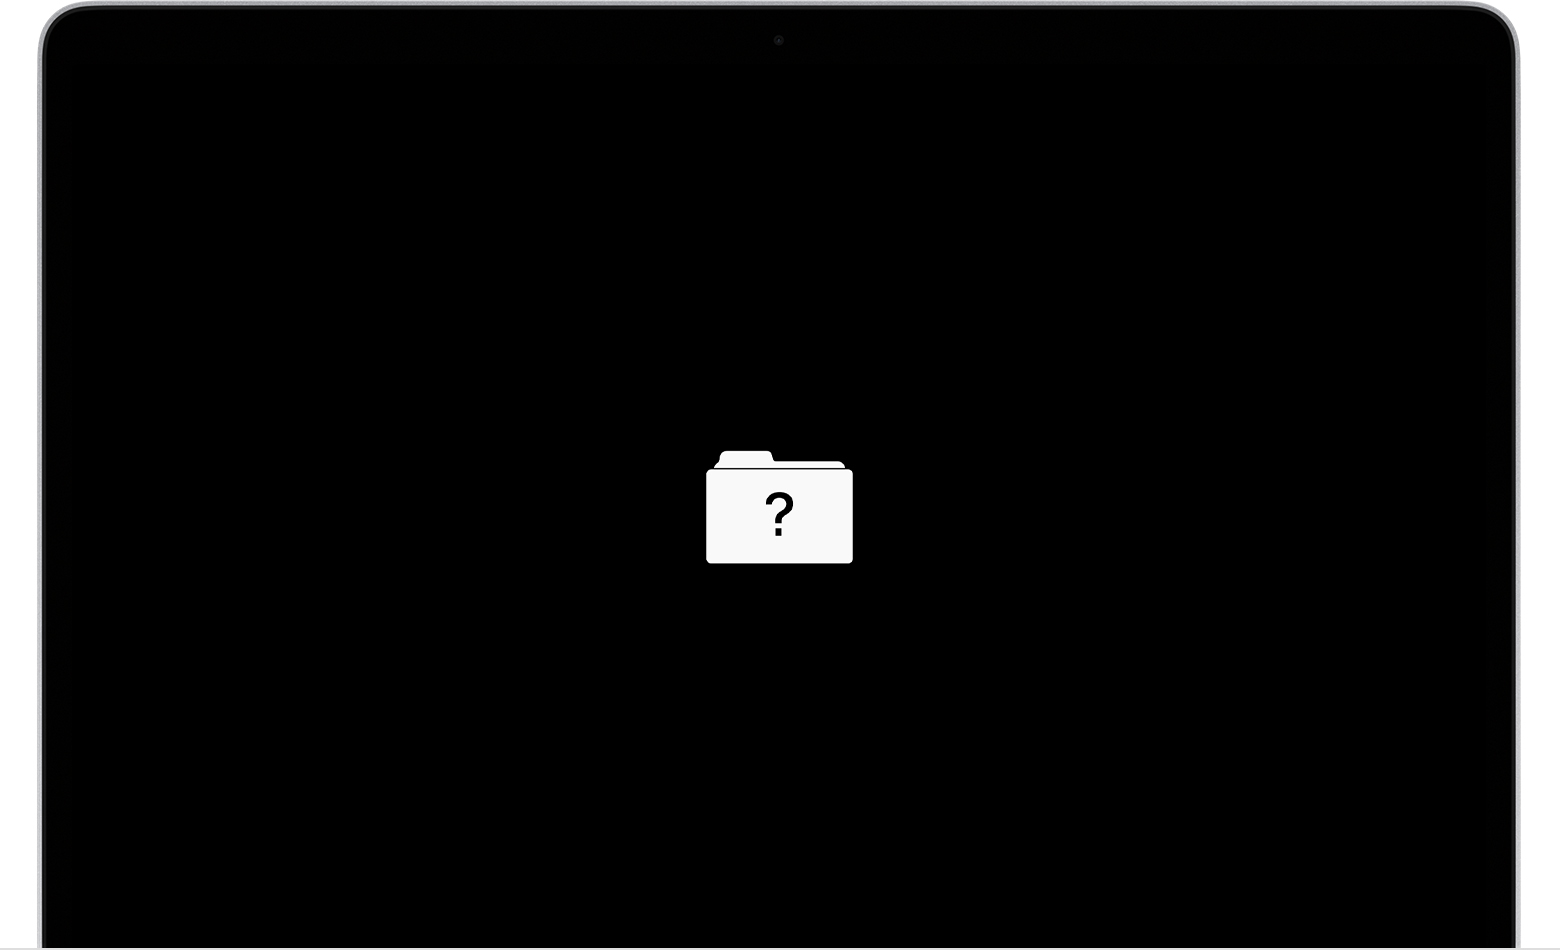
Is your MacBook suddenly showing a blinking folder with a question mark? This flashing icon means your Mac can’t find its startup disk, leaving you stuck and wondering what to do next.
Don’t panic—this is a common issue, and there are clear steps you can take to fix it. You’ll learn exactly why this happens and how to get your MacBook back to normal quickly. Keep reading to discover simple, effective solutions that anyone can follow, even if you’re not tech-savvy.
Your MacBook’s smooth performance is just a few clicks away!
Causes Of Blinking Folder
The blinking folder with a question mark on a Mac signals a startup problem. This issue occurs when the Mac cannot locate the proper system files to boot. Understanding the causes helps in resolving the problem quickly. Three main reasons can trigger this blinking folder icon.
Missing Startup Disk
The Mac needs a startup disk to load the operating system. If the startup disk is missing or not detected, the folder with a question mark appears. This can happen due to accidental changes in system settings or physical disconnection. Without a valid startup disk, the Mac cannot proceed to the desktop.
Corrupted System Files
System files are essential for the Mac to start correctly. Corruption in these files stops the Mac from booting. This corruption may result from failed updates, improper shutdowns, or malware. The blinking folder shows because the Mac cannot find usable system files to load.
Failed Hard Drive Or Ssd
Hardware failure in the hard drive or SSD causes serious startup issues. A failing drive may stop responding or lose important data. When the Mac cannot read the drive, it displays the blinking folder with a question mark. This signals the need for repair or replacement of the storage device.
Starting Macos Recovery Mode
Starting macOS Recovery Mode is essential when your Mac shows a blinking folder with a question mark. This mode helps you access tools to repair or reinstall macOS. It can fix startup disk issues causing the problem.
Recovery Mode runs from a special partition on your Mac. It allows you to use Disk Utility and reinstall the operating system. Knowing how to start Recovery Mode is the first step in troubleshooting.
Shutting Down And Restarting
First, shut down your Mac completely. Press and hold the power button until it turns off. Remove all non-essential devices like USB drives or external monitors.
Wait a few seconds before restarting. This ensures the system resets properly. Then, press the power button to turn your Mac back on.
Using Command + R Shortcut
Immediately after pressing the power button, press and hold the Command (⌘) and R keys together. Keep holding them until you see the Apple logo or a spinning globe.
This key combination launches macOS Recovery Mode. You will enter the macOS Utilities window. From here, you can run Disk Utility or reinstall macOS.
Repairing Disk With Disk Utility
Repairing your MacBook’s disk with Disk Utility is an important step when facing the blinking folder with a question mark. This tool checks the health of your startup disk and fixes errors. It works in macOS Recovery mode, helping to restore your Mac’s ability to boot properly.
Using Disk Utility can solve minor disk problems that cause the blinking folder error. Follow clear steps to locate your disk, run repairs, and understand the results. This process can save time and avoid data loss.
Locating Startup Disk
Start by opening Disk Utility in macOS Recovery mode. The startup disk usually shows as “Macintosh HD” or another name you set. Check the left sidebar for the disk list.
If you do not see your disk, it may be physically damaged or disconnected. In this case, professional help is needed.
Running First Aid
Select your startup disk from the sidebar. Click the “First Aid” button at the top. A dialog will appear. Press “Run” to start checking the disk for errors.
First Aid scans the disk for problems and attempts repairs automatically. This process may take several minutes.
Interpreting Disk Utility Results
After First Aid finishes, Disk Utility shows a message. If it says the disk is okay or repairs were successful, restart your Mac.
If errors remain or cannot be fixed, you may need to erase the disk and reinstall macOS. Always back up your data if possible before erasing.
No disk found means the hardware could have failed. Contact Apple support or a repair center for help.
Reinstalling Macos
Reinstalling macOS is a key step when the blinking folder with a question mark appears on your Mac. This symbol means the Mac cannot find a valid startup disk. Reinstalling the operating system can restore the necessary files and fix boot problems. It is important to understand the process before you start. This prevents data loss and ensures a smooth recovery.
When To Reinstall
Reinstall macOS if Disk Utility cannot repair the startup disk. Also, reinstall if the blinking folder returns after a restart. This action replaces missing or corrupted system files. Avoid reinstalling if the disk does not appear at all. In that case, the hardware may need professional repair.
Erasing Disk Before Reinstallation
Erasing the disk deletes all data and settings. Do this only if Disk Utility cannot fix the errors. Erase the disk from macOS Recovery to prepare it for a clean install. Backup important files before erasing the disk. Without backup, data will be lost forever.
Choosing The Right Format
Choose the correct disk format for your Mac during reinstallation. APFS is recommended for macOS High Sierra and later. Use Mac OS Extended (Journaled) for older macOS versions. The right format improves system performance and compatibility. Always select the format suggested by Disk Utility.
Resetting Nvram And Pram
Resetting NVRAM and PRAM can fix startup issues on your MacBook. These small memory areas store settings that your Mac uses quickly. Sometimes, corrupted settings cause the Mac to show a blinking folder with a question mark. Resetting these memories clears old data and restores default settings. This process often solves boot problems without complex steps.
How To Reset Nvram
First, shut down your MacBook completely. Press the power button, then immediately hold down these keys: Option, Command, P, and R. Keep holding them for about 20 seconds. Your Mac may restart during this time. Release the keys when you hear the startup sound twice or see the Apple logo appear and disappear twice. Your NVRAM is now reset.
When Reset Helps
Resetting NVRAM and PRAM helps when the Mac cannot find the startup disk. It clears settings related to startup disk selection, display resolution, and volume control. If these settings are corrupted, the Mac may fail to boot correctly. Reset often fixes blinking folder issues caused by these errors. If the problem remains, other fixes might be needed.
Checking External Drive Connections
Checking external drive connections is crucial when facing the blinking folder with a question mark on your MacBook. A loose or faulty connection can stop your Mac from finding the startup disk. This issue often relates to external drives that hold important files or system data.
Start by carefully examining how your drives connect to the Mac. Small problems with cables or power can cause big startup errors. Fixing these might solve your problem quickly and save you time.
Inspecting Cables
Look closely at the cables linking your external drive to the MacBook. Check for any visible damage like cuts or frays. A damaged cable may not transfer data properly. Try unplugging and reconnecting the cable firmly into both devices. Use a different cable if available to test the connection. Loose or broken cables often cause the blinking folder error.
Ensuring Power Supply
External drives need a steady power source to function well. Make sure the drive’s power cable is plugged in securely. Some drives have their own power adapters; check if the adapter is working. If the drive runs on USB power alone, use a powered USB hub. Without enough power, the drive may fail to start, causing the MacBook to show the question mark folder.
When To Seek Professional Help
The blinking folder with a question mark signals a startup disk problem. Some fixes are simple but others need expert help. Knowing when to seek professional help can save time and prevent data loss.
Professional technicians have tools to diagnose deeper issues. Attempting complex repairs without skill may worsen the problem. Watch for signs that show a need for expert service.
Disk Not Showing In Disk Utility
Disk Utility should display your startup disk. If it does not appear, this means the Mac cannot detect the drive. This is a serious issue beyond basic user fixes. A missing disk often means hardware failure or a corrupted connection. Professionals can open your Mac safely to check the drive and cables.
Repeated Repair Failures
Running Disk Utility’s First Aid multiple times is normal. But if repairs keep failing, this indicates deeper disk problems. Continued errors suggest the drive is damaged or corrupted. At this stage, professional repair is necessary. Experts can recover data or replace faulty parts.
Hardware Replacement Options
Sometimes, the startup disk or related hardware must be replaced. Professionals know compatible parts and proper installation methods. They can replace hard drives, SSDs, or connectors safely. DIY replacement risks voiding warranty or causing more damage. Trust trained technicians for hardware fixes.
Preventive Tips
Preventing the MacBook blinking folder with a question mark saves time and stress. Simple habits keep your Mac running smoothly. Follow these preventive tips to avoid startup problems and data loss. Regular care helps your Mac stay healthy and responsive.
Regular Backups
Back up your Mac data often. Use Time Machine or other backup tools. Store copies on external drives or cloud services. Backups protect files from disk failure or accidental deletion. Regular backups allow quick recovery if problems occur.
System Updates
Keep macOS and apps updated. Updates fix bugs and security issues. They improve system stability and performance. Set your Mac to install updates automatically. Updated software reduces the chance of startup errors and glitches.
Disk Health Monitoring
Check your disk health regularly using Disk Utility. Run First Aid to find and fix disk errors. Monitor disk space and avoid filling it completely. A healthy disk prevents data corruption and startup failures. Early detection helps fix issues before they grow.
Frequently Asked Questions
How Do I Fix A Flashing Folder With A Question Mark On A Mac?
Restart your Mac and hold Command + R to enter Recovery Mode. Use Disk Utility to repair the startup disk. If repairs fail, erase the disk and reinstall macOS. Seek professional service if the disk doesn’t appear or errors persist.
How Do I Get Rid Of The Circle Of Death On My Mac?
To fix the circle of death on your Mac, force quit unresponsive apps using Command + Option + Escape. Restart your Mac to clear temporary issues. Update macOS and close heavy apps to prevent recurring freezes. If it persists, reset the NVRAM or seek professional help.
How Do I Fix My Mac Won’t Boot Into Recovery Mode?
Shut down your Mac and unplug all devices. Restart while holding Command + R until the Apple logo appears. Use Disk Utility to repair the startup disk. If repair fails, erase and reinstall macOS. Reset NVRAM if needed. Seek professional help if the disk doesn’t appear.
How Do I Get Rid Of The Question Mark Icon On My Mac?
To remove the question mark icon on your Mac, start in macOS Recovery (Command + R). Use Disk Utility to repair your startup disk. If repair fails, erase the disk and reinstall macOS. Seek professional help if the disk doesn’t appear or can’t be fixed.
What Does The Blinking Folder With Question Mark Mean?
A blinking folder with a question mark means your Mac can’t find its startup disk. This usually happens if the drive is damaged or missing system files.
Conclusion
A blinking folder with a question mark means your Mac can’t find its startup disk. Start by running Disk Utility in macOS Recovery to fix disk errors. If repairs fail, reinstall macOS or erase and reinstall the system. Sometimes, the drive may have hardware issues needing professional help.
Regular backups help avoid data loss in such cases. Stay calm and follow the steps carefully to get your Mac running again. Don’t ignore this problem; early action saves time and prevents bigger issues.