Have you noticed your Makita battery charger blinking red and green and wondered what it means? Seeing those flashing lights can be confusing and a bit frustrating, especially when you need your tools ready to go.
But don’t worry—this blinking pattern is actually your charger’s way of telling you something important. Understanding what the red and green flashes mean can save you time, help you avoid damage, and get your battery back to full power faster.
Keep reading, and you’ll discover easy steps to diagnose the issue and get your Makita charger working properly again.
Charger Light Signals
Understanding the charger light signals on your Makita battery charger helps you quickly identify issues. These signals guide you through the charging process and warn you about possible problems. Recognizing the meaning behind blinking lights can save time and prevent damage to your tools.
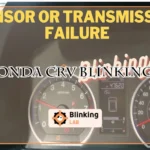
Red And Green Blink Meaning
A blinking red and green light on a Makita charger usually means an error. It often points to a poor connection between the battery and charger. The battery might be too hot or too cold to charge safely. Sometimes, the battery is deeply discharged or defective. The charger itself may also have a fault.
This blinking pattern is a warning to check the battery and charger carefully. Make sure the battery is seated firmly. Clean the battery and charger contacts. Let the battery reach room temperature before charging. These steps often fix the problem and stop the blinking lights.
Common Error Indicators
Besides the red and green blink, other light signals show specific errors. A steady red light often means the battery is charging. A flashing red light can signal overheating or a bad battery. A green light usually shows a full charge or ready status.
Look for these signs to understand the charger’s status. If error lights persist after cleaning and reseating, test with another battery or charger. This helps find whether the battery or charger is faulty. Paying attention to light signals keeps your tools running smoothly.
Connection Issues
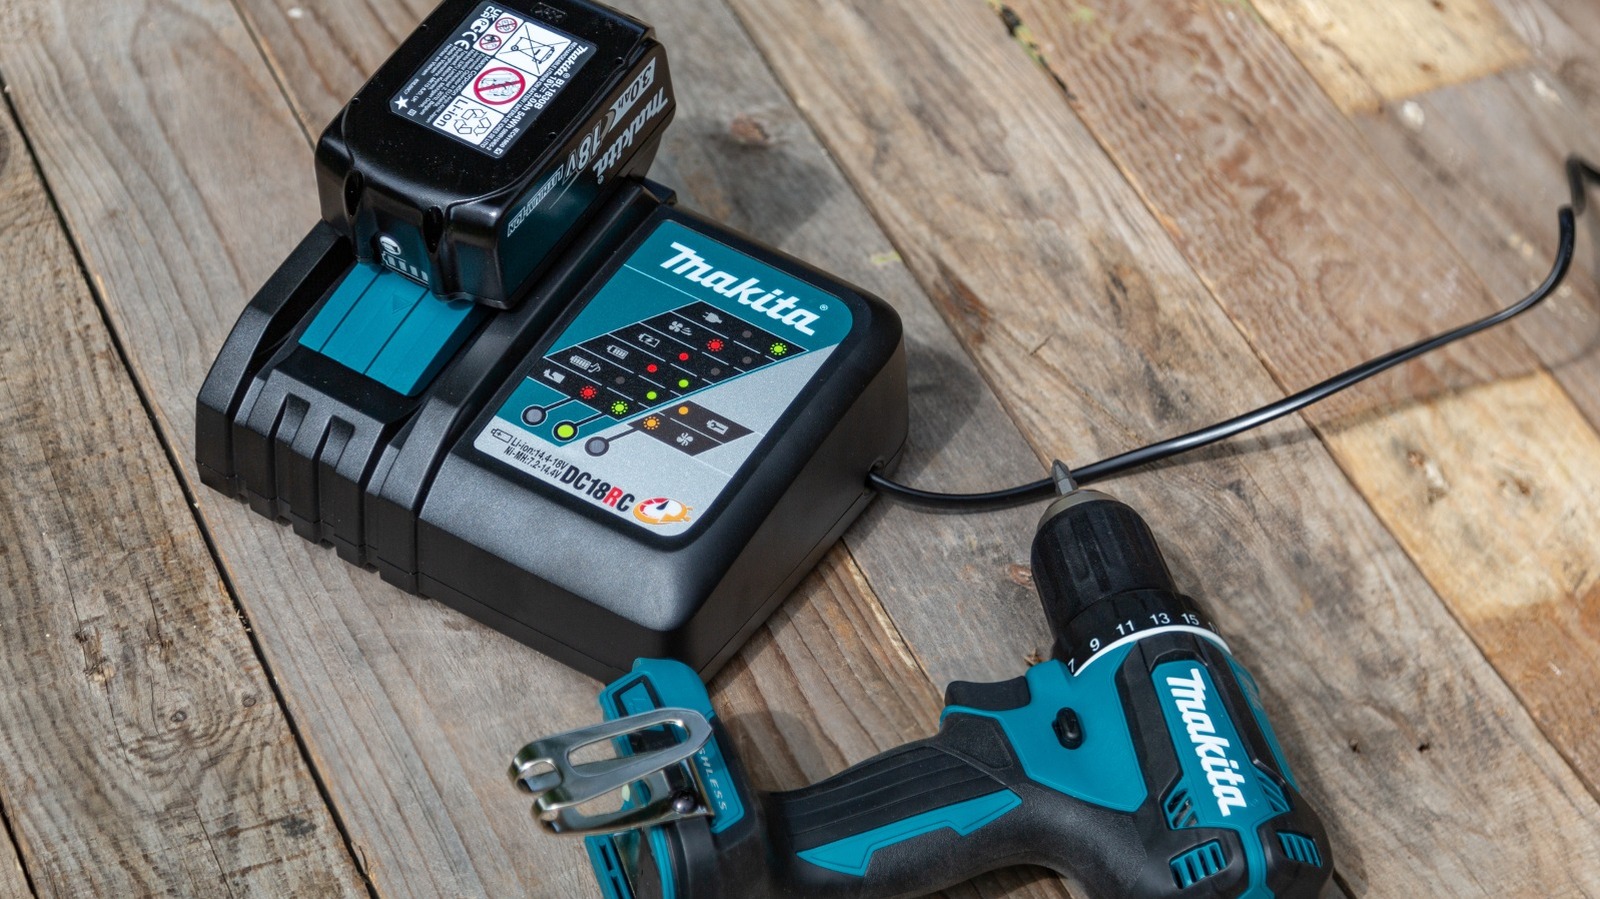
Connection issues often cause the Makita battery charger to blink red and green. This blinking usually means the charger cannot properly connect with the battery. Loose or dirty contacts stop the charger from working well. Checking the connection is the first step to fix this problem. Two common ways to solve connection troubles are reseating the battery firmly and cleaning the terminals and contacts.
Reseat Battery Firmly
Remove the battery from the charger carefully. Then, push it back in firmly until you hear a click. The battery must fit snugly in the charger slot. A loose battery causes poor contact and blinking lights. Make sure the battery does not move after placing it. This simple step often solves many connection issues quickly.
Clean Terminals And Contacts
Dust and dirt on the battery terminals or charger contacts can block the connection. Use a dry cloth to wipe both battery terminals and charger contacts gently. If dirt is hard to remove, compressed air helps clear it. Clean contacts allow the charger to connect properly. Avoid using water or liquids, as they can damage the battery and charger.
Temperature Effects
Preventing issues with your Makita battery charger saves time and extends tool life. Simple habits protect both the charger and batteries from damage. Regular care avoids common errors like blinking red and green lights. Follow these tips to keep your charger working smoothly.
Proper Battery Handling
Always insert the battery firmly until it clicks into place. Loose connections cause charger errors and blinking lights. Avoid dropping or exposing batteries to extreme heat or cold. Store batteries in a dry, cool place to maintain their health. Remove batteries from the charger once fully charged. Overcharging may reduce battery life and cause malfunctions.
Regular Charger Maintenance
Keep charger contacts clean using a dry cloth or compressed air. Dirt or debris can block proper connection and cause error signals. Unplug the charger before cleaning for safety. Inspect the charger cord for damage or wear. Replace damaged cords immediately to prevent electrical issues. Occasionally reset the charger by unplugging it for one minute. This can clear minor faults and help prevent blinking lights.

Frequently Asked Questions
What Does A Makita Battery Charger Displaying Both Red And Green Mean?
A Makita charger flashing red and green indicates an error. Check battery connection, clean contacts, and ensure proper temperature. Try resetting the charger or testing another battery to identify faulty parts.
Why Is My Battery Charger Blinking Red And Green?
A blinking red and green battery charger signals an error. Check battery connection, clean contacts, and ensure proper temperature. Test with another battery or charger to identify a faulty unit. Replace the battery if deeply discharged or damaged. Try a different wall outlet if issues persist.
How To Reset Makita Charger?
Unplug the Makita charger for one minute to reset it. Then, plug it back in and reinsert the battery securely. Clean contacts if needed.
What Do The Lights On A Makita Battery Charger Mean?
A solid green light means full charge. Red indicates charging. Blinking red and green signals an error, like bad connection or battery fault. Check battery seating, clean contacts, and ensure proper temperature. Replace battery or charger if the issue persists.
What Does Blinking Red And Green Mean On Makita Charger?
Blinking red and green lights usually signal an error with the charger or battery. It can mean poor connection, battery damage, or charger fault. Checking connections and battery condition helps find the cause.
Conclusion
A Makita charger blinking red and green signals a problem. Check the battery’s connection first. Clean the terminals and charger contacts carefully. Let the battery cool down or warm up if needed. Try resetting the charger by unplugging it briefly.
Test with another battery or charger to find the fault. Sometimes, the battery may be deeply discharged or damaged. Using simple steps can help avoid costly replacements. Stay patient and follow these tips for safe, effective charging.