Is your Kidde smoke alarm blinking green and you’re not sure what it means? You’re not alone.
Many people notice that blinking light and wonder if their smoke detector is working correctly or if it signals a problem. Understanding what that green flash means is crucial for your safety and peace of mind. You’ll discover the common reasons behind the blinking green light on your Kidde smoke alarm, simple steps to fix it, and when you might need to replace the unit.
Keep reading to ensure your home stays protected and your alarm functions as it should.
Credit: www.homedepot.com
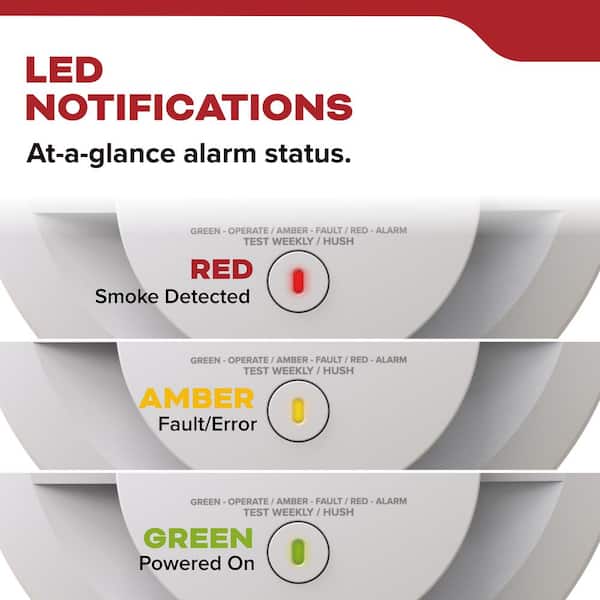
Green Light Patterns
The green light on a Kidde smoke alarm gives important information about its status. Understanding the green light patterns helps you know if the alarm works well or needs attention. The light can be steady or blinking. Each pattern has a different meaning.
Steady Vs Blinking Green
A steady green light usually means the alarm has power and is working properly. It shows the unit is connected to electricity and ready to detect smoke.
A blinking green light often signals a different condition. It can mean the alarm is testing itself, running on battery power, or showing a warning.
Power Status Indications
The green light shows if the alarm has power from the main source. A steady green means it is plugged in or hardwired correctly.
If the green light blinks slowly, the alarm may be running on backup battery power. This happens during power outages or if the main power is off.
Battery And Fault Signals
A blinking green light with a chirping sound can mean the battery is low. Replace the battery right away to keep the alarm active.
Some green light patterns warn of faults or errors in the alarm. Check the user manual for specific signals and fix the problem quickly.

Common Causes
The Kidde smoke alarm blinking green light can signal different conditions. Understanding these common causes helps maintain your home safety. The green light usually communicates the device’s status. It is important to recognize what each pattern means. This guide explains typical reasons for the blinking green light.
Normal Operation Signals
A steady or slow blinking green light often means the alarm works correctly. It shows the unit is connected to power. This signal confirms the smoke alarm is active and monitoring. No action is needed if the green light blinks normally. It reassures that the device is ready to detect smoke.
Low Battery Alerts
A blinking green light combined with chirping sounds often means low battery. The alarm warns you to replace the battery soon. Keeping a fresh battery ensures continuous protection. Change the battery as soon as possible to avoid false alarms. Always use the recommended battery type for your model.
Wiring And Connection Issues
Hardwired Kidde alarms may blink green if wiring is loose or faulty. Poor connections can interrupt power supply. This may cause the green light to blink irregularly. Check the wire harness and terminal connections carefully. Secure any loose wires to restore normal operation. If unsure, contact a professional electrician for help.
Battery Replacement
Replacing the battery in your Kidde smoke alarm is crucial for proper function. A blinking green light often signals low battery power. Timely battery replacement ensures continuous safety and prevents false alarms. Follow these simple steps to replace the battery correctly and keep your home protected.
Removing The Unit Safely
First, turn off the power to the smoke alarm. This prevents any electrical issues. Gently twist the alarm counterclockwise to unlock it from the mounting plate. Carefully disconnect the wire harness from the back of the unit. Place the smoke alarm on a flat surface for easy access to the battery.
Choosing The Right Battery
Use the battery type recommended by Kidde. Most models require a 9-volt battery or a specific lithium type. Check the battery’s expiration date before installation. Avoid using old or damaged batteries. A fresh battery ensures the alarm works without interruption.
Reconnecting And Testing
Reconnect the wire harness to the smoke alarm securely. Align the alarm with the mounting plate and twist it clockwise until it locks. Restore power to the unit at the circuit breaker. Press the test button to confirm the alarm sounds properly. The blinking green light should stop, indicating a successful replacement.
Troubleshooting Steps
Troubleshooting a Kidde smoke alarm blinking green is important for safety. The blinking green light usually signals a power or connection issue. It helps to follow clear steps to fix the problem quickly. Below are key actions to try.
Resetting The Alarm
First, try resetting the smoke alarm. Locate the test or reset button on the unit. Press and hold it for about 15 seconds. Release the button and wait for the alarm to stop blinking. This process clears minor errors and restarts the device.
If the green light continues blinking, move to the next step.
Checking Wire Harness
Next, inspect the wire harness connecting the alarm to the power source. Turn off the electricity at the breaker. Carefully remove the alarm from its mounting bracket. Check the wire harness for loose or disconnected wires. Reconnect any loose wires securely. Reattach the alarm and restore power. This ensures proper electrical connection.
Loose wiring often causes blinking green lights on hardwired alarms.
Identifying Faulty Units
If resetting and wiring checks fail, the alarm may be defective. Test the unit by pressing the test button. If it does not sound or the light blinks abnormally, it might be faulty. Replace the smoke alarm with a new one. Faulty alarms can compromise safety and must be replaced immediately.
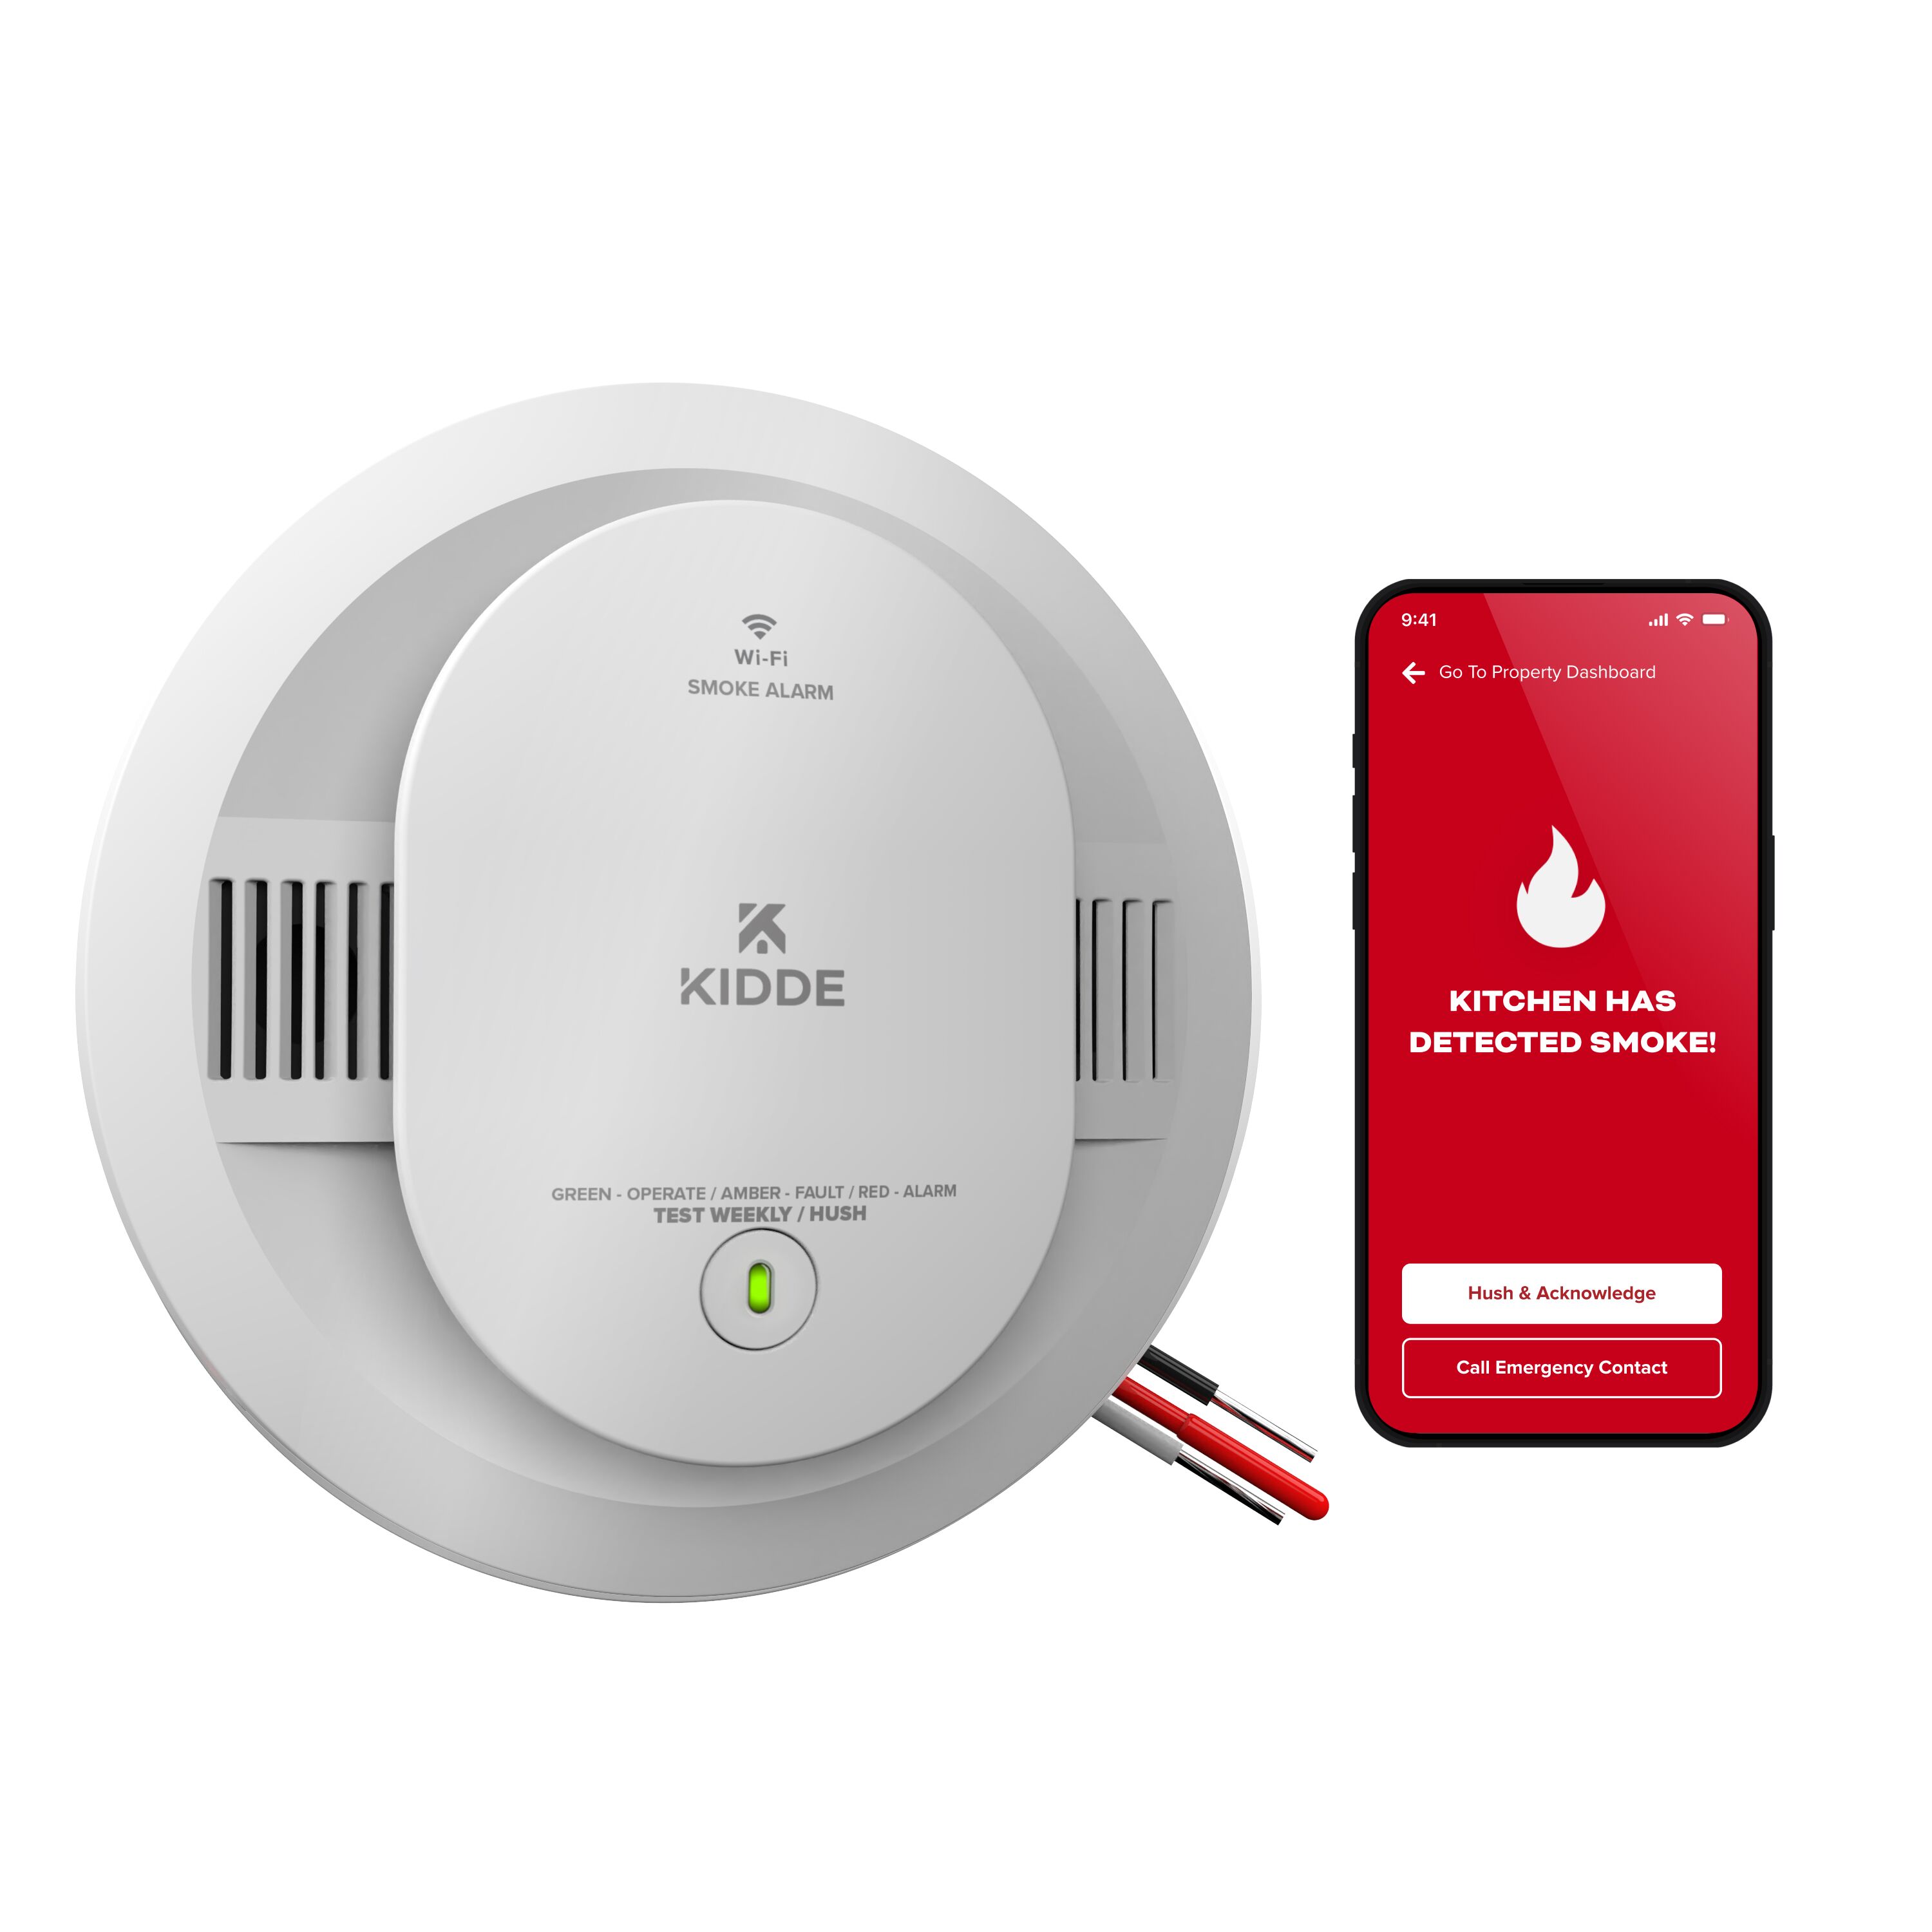
Handling False Alarms
False alarms from Kidde smoke alarms can be frustrating and disruptive. They cause unnecessary panic and disturb your daily routine. Understanding how to handle these false alarms helps maintain safety without stress.
Proper steps reduce false alarms and ensure your system works correctly. Focus on identifying the source and managing connected devices carefully. Regular care keeps your alarms reliable and effective.
Locating The Initiating Unit
Start by finding the alarm that first triggered. This unit sends signals to others in the network. Check each alarm to see which one is blinking green or beeping.
Unplug or silence the initiating unit to stop the chain reaction. This helps isolate the problem and prevents all alarms from sounding. Fix the main unit before resetting others.
Managing Interconnected Alarms
Interconnected alarms share alerts to protect your whole home. When one senses smoke, all alarms sound together. False alarms can spread quickly through this system.
After stopping the initiating alarm, reset each connected unit. This clears their alerts and stops false beeping. Follow the manufacturer’s reset instructions carefully.
Preventive Maintenance Tips
Clean alarms regularly to remove dust and insects. Dust buildup often triggers false alarms. Use a vacuum or soft brush gently around the sensor.
Replace batteries at least once a year. Weak batteries cause frequent false alerts and blinking lights. Always use recommended battery types for your model.
Test alarms monthly to ensure they work well. Press the test button and listen for a strong beep. Replace any alarm that fails to respond properly.
Expert Tips
Understanding the blinking green light on your Kidde smoke alarm is important for safety. Follow expert tips to ensure your alarm works correctly. Proper care and maintenance can prevent false alarms and extend the life of your device.
When To Replace The Alarm
Smoke alarms usually last about 10 years. Check the manufacture date on the back of the alarm. Replace the alarm if it is older than 10 years. Also, replace it if it shows frequent errors or fails tests. A blinking green light may signal a fault that needs attention. Do not ignore repeated blinking after battery replacement.
Ensuring Proper Installation
Install your Kidde smoke alarm on the ceiling or high on a wall. Avoid corners and areas near windows or vents. Keep it away from kitchens or bathrooms to reduce false alarms. Securely attach the alarm to its mounting bracket. Make sure the battery or power connection is firm. A loose connection can cause blinking green lights.
Regular Testing Recommendations
Test your smoke alarm once a month. Press the test button until you hear a loud beep. This confirms the alarm is working well. Replace batteries at least once a year, or sooner if chirping starts. Clean the alarm regularly to remove dust and debris. Use a vacuum or soft brush. Proper testing and cleaning keep your alarm reliable and safe.
Frequently Asked Questions
What Does Kidde Smoke Alarm Blinking Green Mean?
A blinking green light usually shows the alarm has power and works fine. It often flashes slowly when connected to AC power.
Why Is My Kidde Smoke Alarm Blinking Green And Beeping?
Green blinking with beeping means the battery is low or faulty. Replace the battery soon to stop the noise and keep safety.
How Do I Stop Kidde Smoke Alarm Blinking Green?
Try replacing the battery and check the wire connection firmly. If blinking continues, the alarm may need full replacement.
Can A Blinking Green Light Signal Smoke Alarm Malfunction?
Yes, continuous green blinking with odd sounds can show a fault. Regular battery checks help prevent malfunctions and false alarms.
Is It Safe To Ignore A Blinking Green Light On Kidde Alarm?
No, ignoring blinking green with beeps risks missing a low battery alert. Always address blinking lights quickly to ensure proper alarm function.
Conclusion
A blinking green light on your Kidde smoke alarm usually shows it has power. Sometimes, it means the battery needs replacing, especially if the alarm chirps. Always check the battery first to keep your home safe. If problems continue, the alarm might be faulty and need replacement.
Regular testing and maintenance keep your smoke alarm working well. Stay alert and act quickly to ensure your safety.